 English
  日本語
日本語  العربية
  Deutsch
  Español
  Français
  한국어
한국어  Português
  Татар теле
  Русский
 When a project team plans cabinetry around structural columns from another country, the column is not just a design obstacle. It becomes a communication test. The cabinet factory may be reviewing photos, site dimensions, floor plans, and marked-up drawings without being able to touch the wall, check the ceiling line, or see how people move around the column.
That is why an overseas column cabinetry project needs more than a simple width and height. It needs an information package that explains the real site: what the column touches, where the cabinet line should stop, how panels can be fixed, where lighting may run, and what the installer must know before production begins.

Why Overseas Column Cabinetry Needs a Better Information Package
In a local project, a designer or installer can often return to the site, recheck a corner, or confirm a small junction before final production. In an overseas custom cabinetry project, that second visit may not be available to the factory. If the project information is incomplete, the risk moves into the drawings, the panel sequence, and finally the installation.
Cabinetry around structural columns is especially sensitive because the cabinet does not start from a clean wall. It has to respond to a fixed structural element, nearby walls, ceiling and floor conditions, walking space, lighting routes, and sometimes existing finishes. A beautiful rendering may show a smooth wrap, but the real project depends on whether the column was documented as part of the cabinet system.
The factory cannot correct what the site data never showed
A cabinet manufacturer can refine panel proportions, suggest a curved or faceted wrap, and plan shelf depths. It cannot reliably solve information that was never provided: a column that leans slightly, a ceiling line that drops near the column, a wall surface that is not flat, or a switch panel that sits exactly where a side panel was planned.
For overseas work, the site package should show both design intent and site reality. The factory needs to see the attractive design direction, but it also needs the ordinary things that affect production: wall returns, floor skirting, ceiling beams, nearby doors, electrical points, and the available path for carrying panels into the room.
Structural columns should be documented before design decisions
A structural column should not be cut, weakened, chased, or modified without proper project approval. From a cabinetry point of view, the safer assumption is simple: the column is fixed, and the cabinet must be planned around it.
That does not mean the final result has to look awkward. It means the key decision should happen early. Before choosing walnut panels, display shelves, or concealed lighting, the team should document the column clearly enough for the cabinet line, joint positions, and installation sequence to be reviewed.
Start With Photos That Explain the Whole Site
Photos are often the first language of an overseas project. They help the factory understand whether the column sits in a living room, dining area, lobby, corridor, or open-plan transition. They also reveal design conditions that drawings may simplify.
For cabinetry around structural columns, ask for photos that answer practical questions, not only presentation photos. A polished front view may be useful for design taste, but it does not show whether a drawer can open, whether a curved panel will meet a crooked wall, or whether a lighting wire can be reached later.
Show the column from every side, not only the best angle
The photo set should include front, left, right, rear, low-angle, and wider room views. If the column touches a wall, show the wall return. If it stands free, show the walking paths around it. If cabinetry is planned on only one side, still photograph the other sides because they may affect panel fixing, installation access, or the visual line of the final wrap.
A useful photo set usually includes:
- A wide view showing the column in the room.
- Close views of each column face.
- Photos of the top junction near the ceiling.
- Photos of the bottom junction near the floor.
- Views toward nearby walls, doors, windows, switches, outlets, and existing cabinets.
- A marked photo showing the intended cabinet zone.
Include floor, ceiling, wall, and nearby cabinet references
The column is not the only thing being measured. Cabinetry has to meet floors, ceilings, walls, and sometimes other built-in pieces. Photos should show skirting, ceiling coves, beams, flooring transitions, wall panels, and any existing cabinet run that the new work must align with.
If the project includes a display function, photograph the viewing direction as well. A curved shelf facing a dining table may need a different depth and lighting position from a display face seen from an entry lobby. The more the factory understands how the column is seen and used, the less likely the cabinet will look added on.
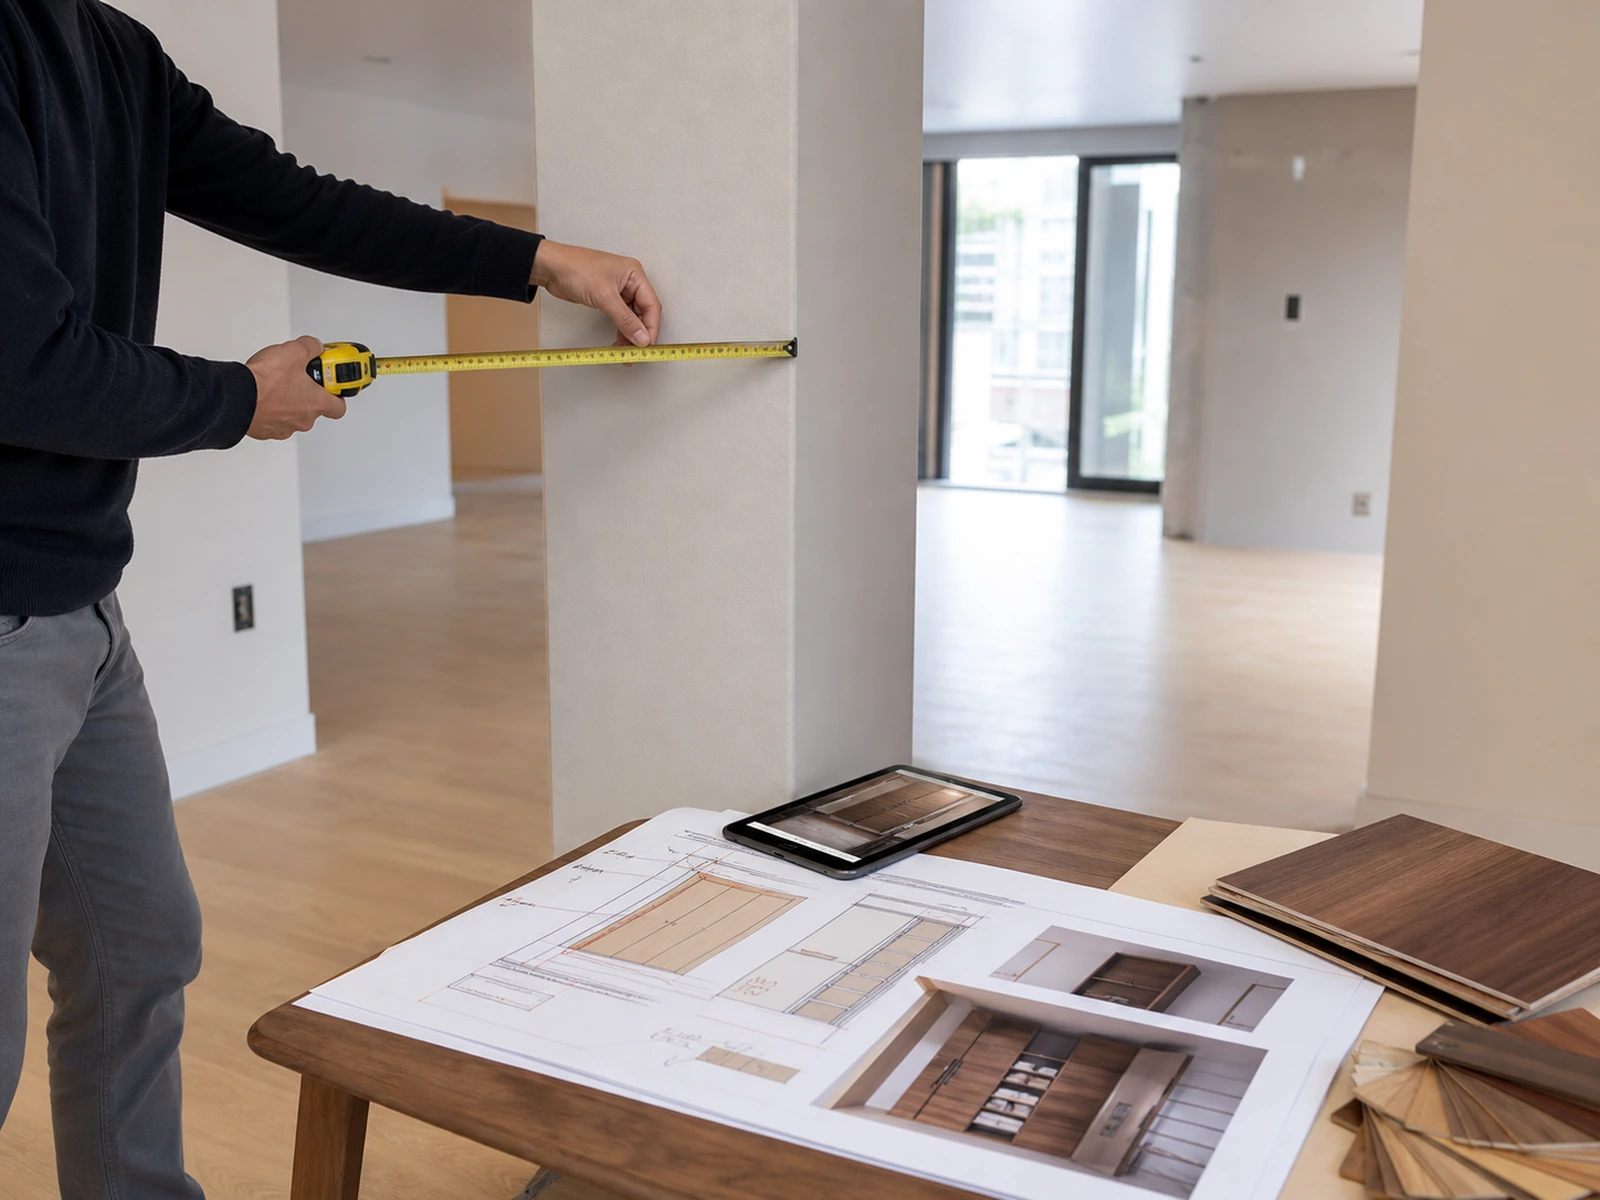
Measure the Column as Production Data
Measurements for a column wrap cabinet should be more detailed than a simple width and height. A straight cabinet run can sometimes absorb minor variation with fillers or scribes. A column cabinet, especially a curved or faceted one, exposes small errors quickly because the cabinet line turns around a fixed object.
The goal is not to overload the factory with random numbers. The goal is to turn the column into usable production data.
Width, depth, angle, surface flatness, and surrounding planes
Start with the column’s basic width and depth at more than one height if the surface is uneven. Then record the height from finished floor to ceiling or to the point where the cabinetry will stop. If the column is not square, note angles and differences between top and bottom measurements.
Also record the surrounding planes:
- Distance from the column to nearby walls.
- Distance to door openings, windows, and circulation paths.
- Ceiling condition above the column.
- Floor finish and baseboard or skirting condition.
- Wall flatness where cabinet side panels may return.
- Existing electrical points, switches, lighting lines, or access panels.
If a curved wrap is being considered, the radius or template data becomes especially important. If a faceted wrap is preferred, the panel widths and joint positions need to be coordinated with the column faces and the viewing angle.
Mark fixed restrictions before the cabinet line is drawn
Some project restrictions are not design choices. A structural column may contain services, have required access zones, or sit in a clearance path that cannot be narrowed. These restrictions should be marked before the cabinet line is drawn.
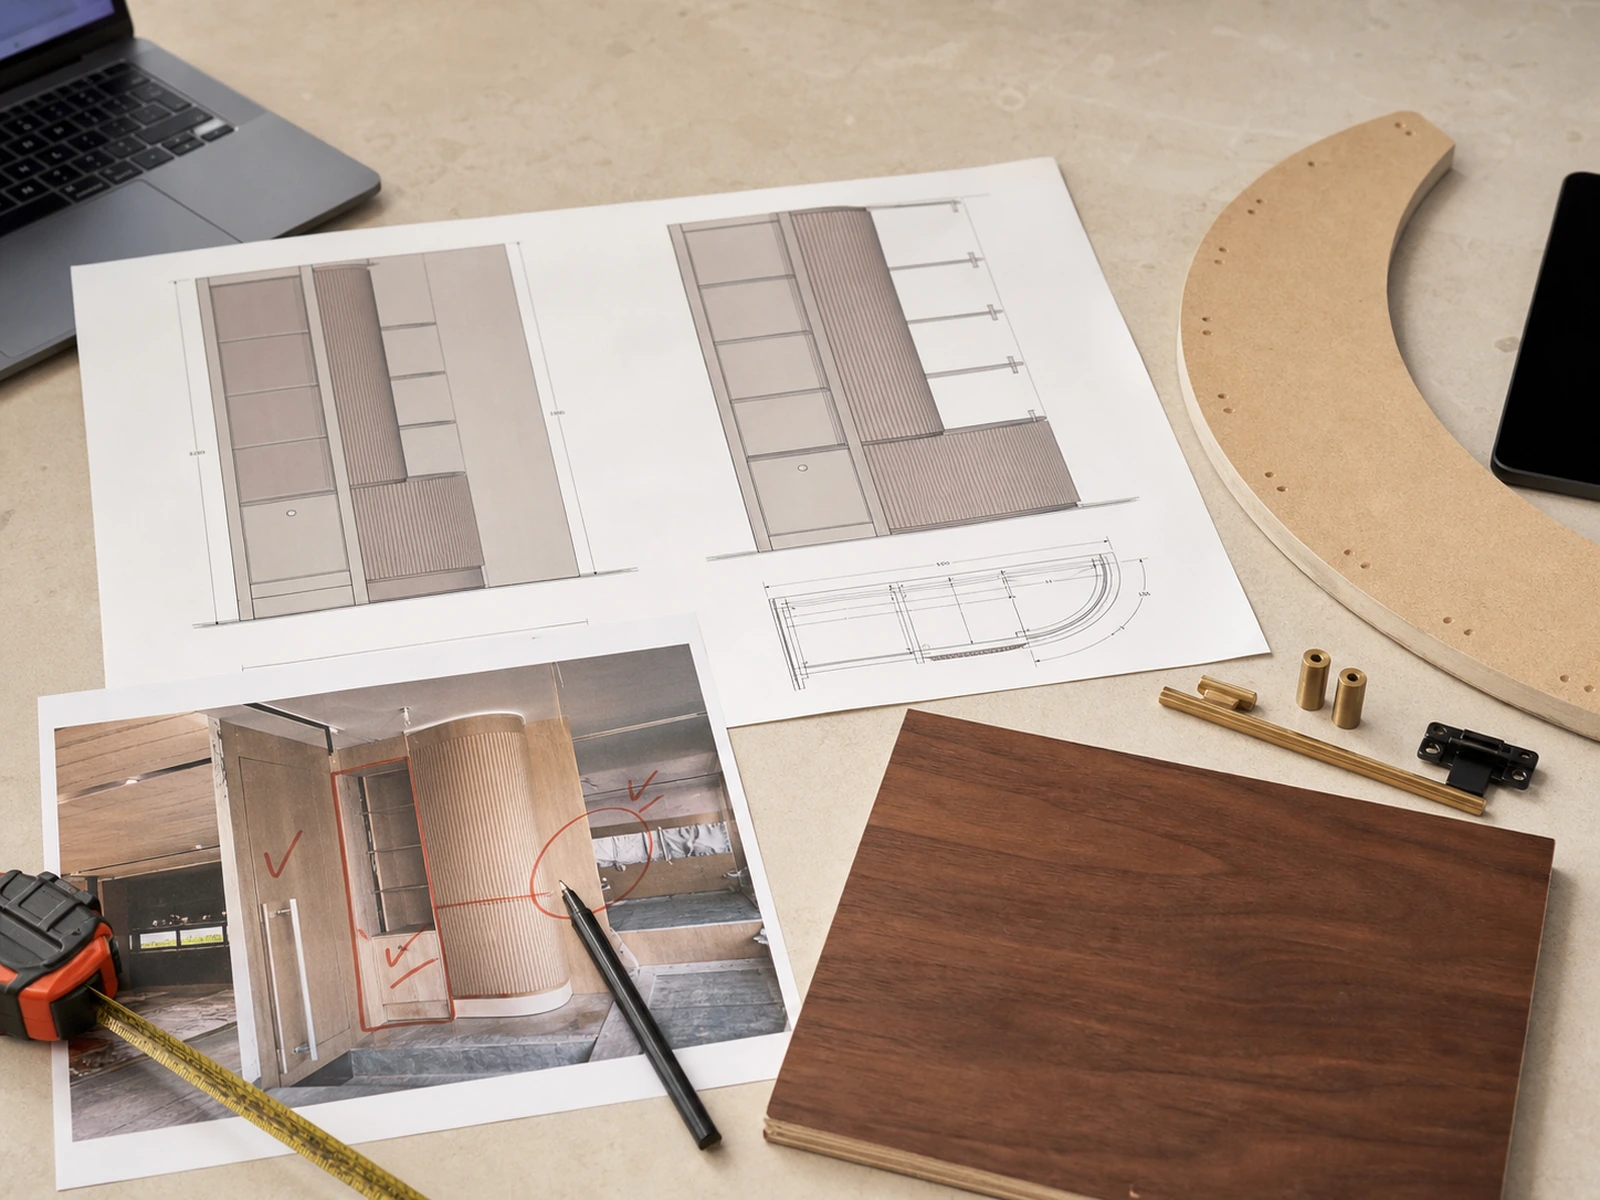
This is where overseas projects benefit from clear markups. A simple floor plan with colored notes can show where the cabinet may sit, where it cannot sit, which side needs cleaning access, and which face is most visible from the room. For production, these notes are often more useful than a beautiful image without dimensions.
Use Templates When the Column Is Curved, Irregular, or Out of Square
Templates are not always necessary, but they become important when the column shape cannot be described clearly with normal measurements. A round column, an oval column, an uneven plastered column, or a column with irregular cladding can make production drawings difficult if the team only sends a few straight dimensions.
For cabinetry around structural columns, a template is a way of translating the site into a repeatable production reference.
When a paper, digital, or site template is useful
A paper or cardboard template can help capture the real footprint of an irregular column. A digital template or carefully marked site drawing can also work if the project team has reliable measurement tools and clear references. In more complex projects, the local installer may need to verify the template before the factory finalizes the panel drawings.
Templates are especially useful when:
- A curved panel must follow the column closely.
- A faceted wrap needs equal or deliberate panel faces.
- The column surface is not perfectly square.
- The cabinet must meet existing wall panels or ceiling details.
- The design includes open display shelves wrapping the column.
- Joint lines need to land in less visible positions.
Why curved panels need stronger measurement control
Curved panels are less forgiving than flat fillers. If the radius, height, or surrounding junction is unclear, the final cabinet may leave uneven gaps or force the installer to adjust a finished panel on site. That can affect the finish, the joint line, and the visual quality of the wrap.
This does not mean curved column cabinetry should be avoided. It means the project needs better data. For a curved walnut column wrap display cabinet, for example, the factory needs to know the column shape, shelf depth, panel sequence, lighting route, and how the curved face will meet adjacent straight cabinetry.

Add Installer Notes Before Production Drawings Are Approved
Installer notes are often treated as a late-stage detail. For column cabinetry, they should be part of the drawing review. A design may look correct on paper, but the installer still needs to know how panels are sequenced, where they can be fixed, which joint lines are intentional, and which areas must remain accessible.
Overseas projects should make this information explicit because the factory, buyer, designer, and local installer may not all be in the same room.
Panel sequence, fixing points, joint lines, and lighting routes
Column cabinetry is usually not installed as one simple box. It may include backing panels, curved or faceted wrap panels, shelves, trim pieces, lighting channels, side returns, and sometimes a display zone. The drawing package should show the expected installation order.
Key notes to confirm include:
- Which panels install first.
- Where fixing points are allowed.
- Which joint lines are visible and which should be hidden.
- How shelves meet the column or side panels.
- Where LED strips, drivers, and cable routes are located.
- Which parts need removable or serviceable access.
- Whether any fixing or drilling requires local approval.
The factory should not assume that every surface around a structural column is available for fixing. The local project team should confirm what can be fixed to walls, floors, ceilings, or non-structural surfaces, and what must not be touched.
Door swing, drawer opening, cleaning, and maintenance access
A column cabinet can look clean but still be hard to use. Doors may hit the column. Drawers may open into a walking path. A display shelf may be too deep to clean comfortably. Lighting may be impossible to service after the final side panel is installed.
Before production drawings are approved, check the everyday use of the cabinet:
- Can doors and drawers open fully?
- Is the walkway still comfortable for the room’s function?
- Can the area around the column be cleaned?
- Can lighting or wiring be reached for maintenance?
- Does the cabinet block access to switches, outlets, panels, or services?
- Does the column wrap create sharp or fragile edges in a high-traffic area?
These questions are not decorative. They decide whether the finished cabinet feels integrated or inconvenient.
Where a Curved Walnut Column Wrap Display Cabinet Fits
A curved walnut column wrap display cabinet can be a strong option when the column sits in a visible living room, dining area, lounge, lobby, or commercial reception zone. Instead of pretending the column is not there, the cabinet gives it a purpose: display, lighting, material warmth, and a resolved edge.
The important point is fit. A curved display cabinet is not the automatic answer for every column. It works best when the room has enough circulation, the column position can support a visual feature, and the project team can provide accurate site data for curved panels and shelves.
Use P14 as a related example, not the article center
P14, the curved walnut column wrap display cabinet, is relevant when the project needs a warm display feature around a structural column. It can help explain why curved panels, open shelves, lighting, and careful joint lines need to be planned together.
However, the broader article is about project coordination. The buyer still needs to confirm site photos, templates, drawings, access, and installer notes before deciding whether a P14-style solution is suitable.
When display shelves make a structural column feel intentional
Display shelves can make a column feel less like an interruption and more like a planned part of the interior. The shelf depth should relate to the room, not just to the column. Shallow shelves may be better than deep storage when the goal is visual lightness, safer circulation, and easier cleaning.
Lighting also needs early coordination. LED strips, wiring routes, driver access, and maintenance space should be reviewed before the panels are produced. If these details are left until installation, the cabinet may need visible compromises.
Final Project Package Checklist
Before asking a factory to quote, draw, or produce cabinetry around a structural column, prepare a package that makes the site understandable. The package does not need to be fancy. It needs to be clear, complete, and consistent.
What to send before quotation, drawings, or production
Use this checklist as a practical starting point:
- Wide photos showing the column in the full room.
- Close photos of every column face.
- Photos of ceiling, floor, wall, and nearby cabinet junctions.
- A marked floor plan showing the column and intended cabinet zone.
- Column width, depth, height, and angle measurements.
- Distances to walls, doors, windows, switches, outlets, and walking paths.
- Notes on surface flatness, existing finishes, and baseboard or skirting.
- Template data for curved, irregular, or out-of-square columns.
- Preferred junction method: reveal, filler, faceted wrap, curved wrap, or open shelves.
- Lighting and wiring notes if display shelves are planned.
- Local installer comments about fixing, access, and installation sequence.
- Any restrictions from the project owner, designer, builder, or structural professional.
What still needs local confirmation
Some items should always remain locally confirmed. A remote cabinet factory can advise on cabinetry construction, but local teams must verify building conditions, structural restrictions, service routes, code requirements, and installation access.
The safest workflow is collaborative: the buyer or designer provides the site package, the factory develops cabinetry drawings, and the local installer reviews the drawings before production. That review is especially important when cabinetry touches a structural column, a ceiling detail, a finished wall panel, or a service area.
Frequently Asked Questions
Can cabinetry be built around a structural column?
Yes, cabinetry can often be planned around a structural column, but the column should be treated as a fixed site condition. The project team should document the column size, surrounding surfaces, access clearance, and installation restrictions before production.
Should a structural column be completely covered?
Not always. Some projects work better with a partial wrap, an open display shelf, a shallow cabinet zone, or a deliberate reveal. Full coverage only works when access, ventilation, cleaning, and installation conditions allow it.
Are curved column wrap cabinets difficult to install?
They require more preparation than a simple straight cabinet run. Curved panels need accurate column data, panel sequencing, joint-line planning, and installer notes. The difficulty is manageable when the information package is clear before production.
What photos are most useful for an overseas column cabinetry project?
Wide room photos, close-ups of every column face, top and bottom junction photos, nearby wall and cabinet references, and marked photos showing the intended cabinet zone are all useful.
What drawings should be reviewed before production?
Review the cabinet elevation, plan view, section drawings, panel templates, joint-line positions, lighting routes, fixing notes, and installer comments. If any structural or service-related condition is unclear, it should be confirmed locally before production.
Prepare the Site Information Before the Cabinet Line Is Finalized
Cabinetry around structural columns becomes much easier to control when the project team prepares the site information before the cabinet line is finalized. Photos explain the room. Measurements turn the column into production data. Templates reduce guesswork. Installer notes help the final cabinet work in the real space, not only in the drawing.
For overseas projects, this preparation is not extra paperwork. It is part of the design quality. If you are planning a custom column wrap cabinet, collect the site photos, measurements, templates, access notes, and installer comments early so the cabinetry drawings can be reviewed with fewer unknowns.