 English
  日本語
日本語  العربية
  Deutsch
  Español
  Français
  한국어
한국어  Português
  Татар теле
  Русский
 A sideboard can look perfectly comfortable while every dining chair is tucked under the table. Pull out one chair, let someone stand behind it, and ask another person to pass: the same cabinet may suddenly occupy the room’s only usable route. If you are planning sideboard cabinet depth for narrow dining rooms, do not begin with a universal furniture dimension. Begin with the fixed room width and decide how much of it must belong to the table, the chairs in use, the protected walkway, and the sideboard in both its closed and open states.
The useful question is not “What depth is standard?” It is “After the table, moving chairs, people, and circulation have made their claims, what depth remains—and can the proposed sideboard work within it?” That whole-room width budget is the basis for a layout decision, a custom-cabinet drawing, and a more reliable installation review.
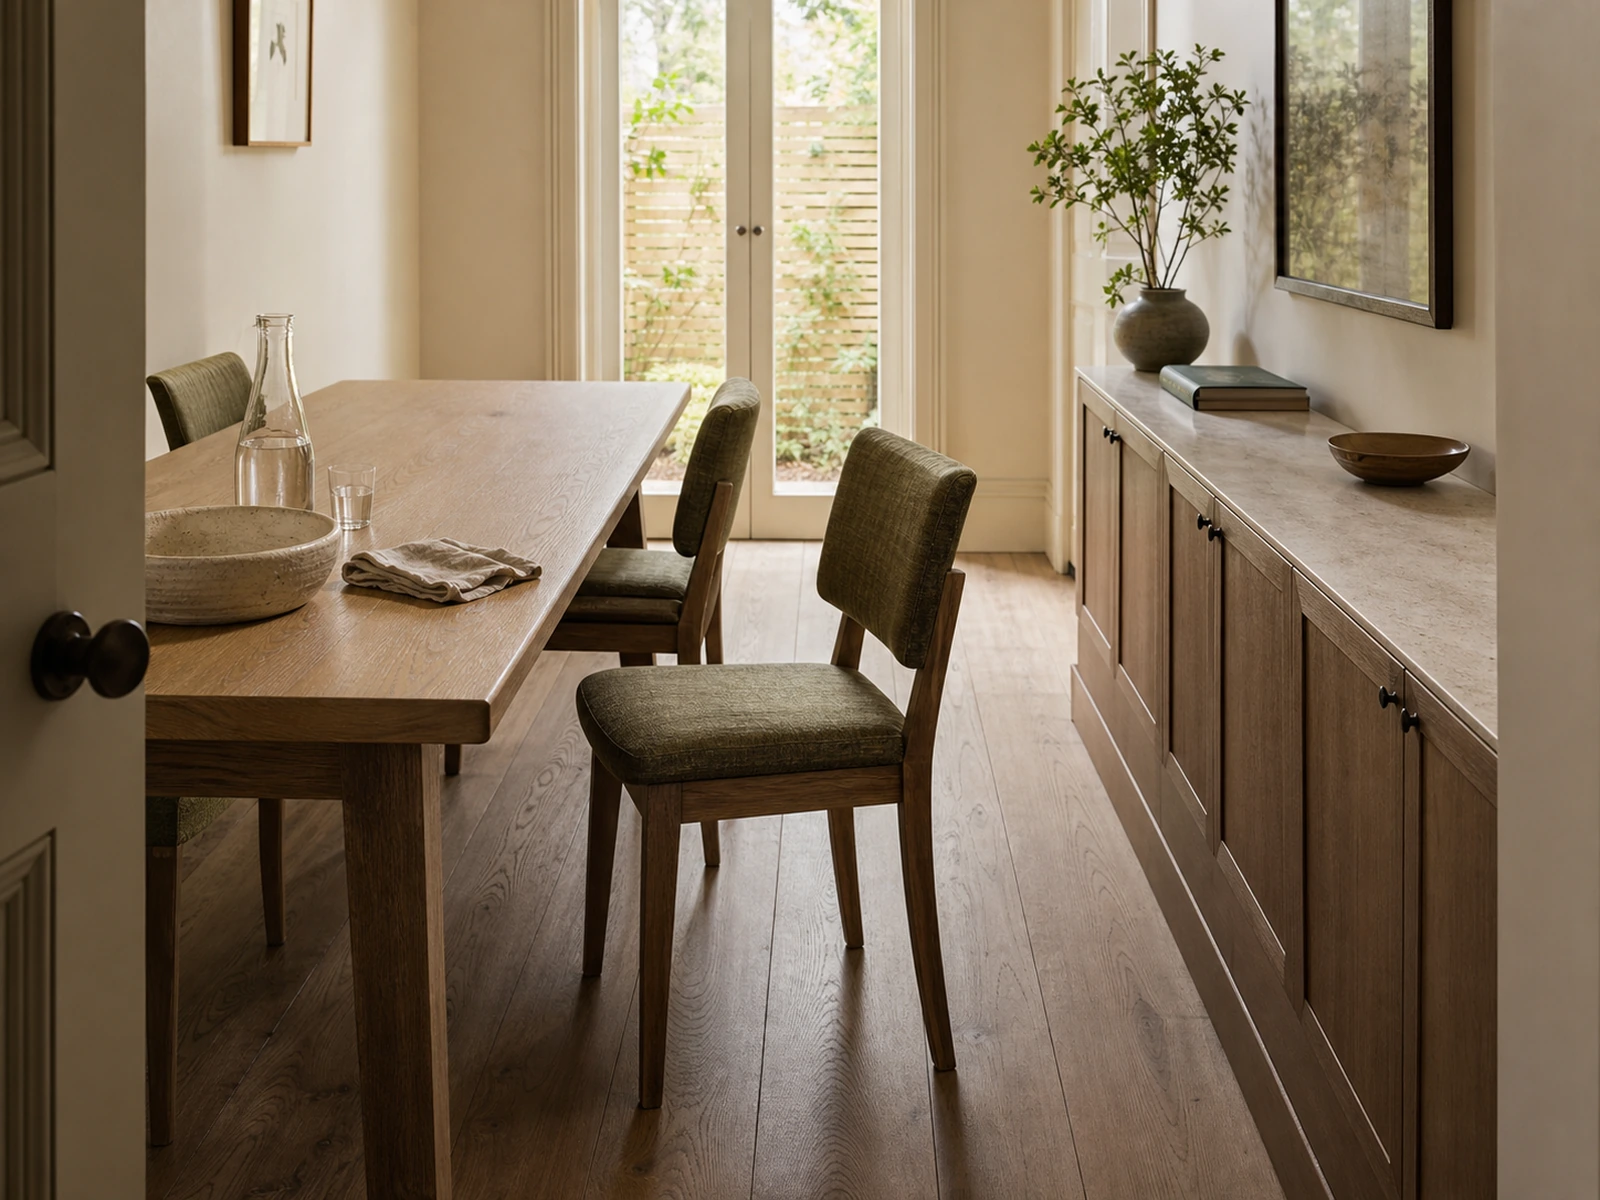
Start with the Fixed Room Width, Not a Standard Sideboard Depth
Treat the available width as a finite project resource. Four claims compete for it:
- the dining table in its approved position;
- the chair zone when a chair is moved and occupied;
- the route that must remain usable;
- the sideboard’s full installed and operating depth.
The fourth claim is often understated. A product schedule may show the cabinet carcass depth, but the installed projection can also include fronts, pulls, a stone edge, a gap or scribe at the wall, and the relationship to skirting or baseboard. The operating depth is larger again when a drawer extends or a hinged door swings into the room and a person stands in front of it.
This is why sideboard cabinet depth for narrow dining rooms is a layout calculation rather than a catalogue lookup. The same cabinet body can perform differently opposite a bench, a compact chair, a deep upholstered chair, or a route used as the main connection between kitchen and living areas.
Quick answer: Draw the room as it is used, not as it looks when everything is closed. Protect the table position, chair movement, and required route first. Only then assign the remaining width to the cabinet and test its openings.
| Width claim | What to record | State to test | Can it change? |
|---|---|---|---|
| Dining table | Top edge, base, and final position | Normal dining setup | Sometimes, but not if it breaks alignment or another route |
| Dining chair | Overall depth and pull-out path | Tucked in, pulled out, and occupied | Chair model or table position may change |
| Walkway | Actual path people use | Chair occupied and cabinet closed or open | Route priority must be agreed |
| Sideboard | Installed projection and opening travel | Closed, drawer open, and door open | Depth, location, fronts, and opening type may change |
Lock the Table Position Before You Allocate Space to the Sideboard
The table should be positioned in relation to the room, not simply centered by habit. In an open-plan home, its alignment may need to preserve the route between the kitchen and living area. In a compact apartment, one end may need to stay clear of a doorway, balcony access, or a change in floor level. A pendant, ceiling feature, floor outlet, or adjacent island can also limit how far the table can move.
Mark the table top, but do not stop there. Record the base or legs because they influence where chairs can sit. Note whether the table expands, whether end seats are used daily, and whether anyone regularly walks behind occupied chairs. If the table position is still provisional, the sideboard depth is provisional too.
Fixed site conditions belong on the same survey. Include skirting or baseboard depth and height, sockets, wall returns, radiators or vents, door architraves, and any visible wall irregularity. Check the floor level where a long low cabinet will sit. These details may not dominate the room visually, but they can change the cabinet-to-wall junction and final installed projection.
Draw the Dining Chair as a Moving Zone
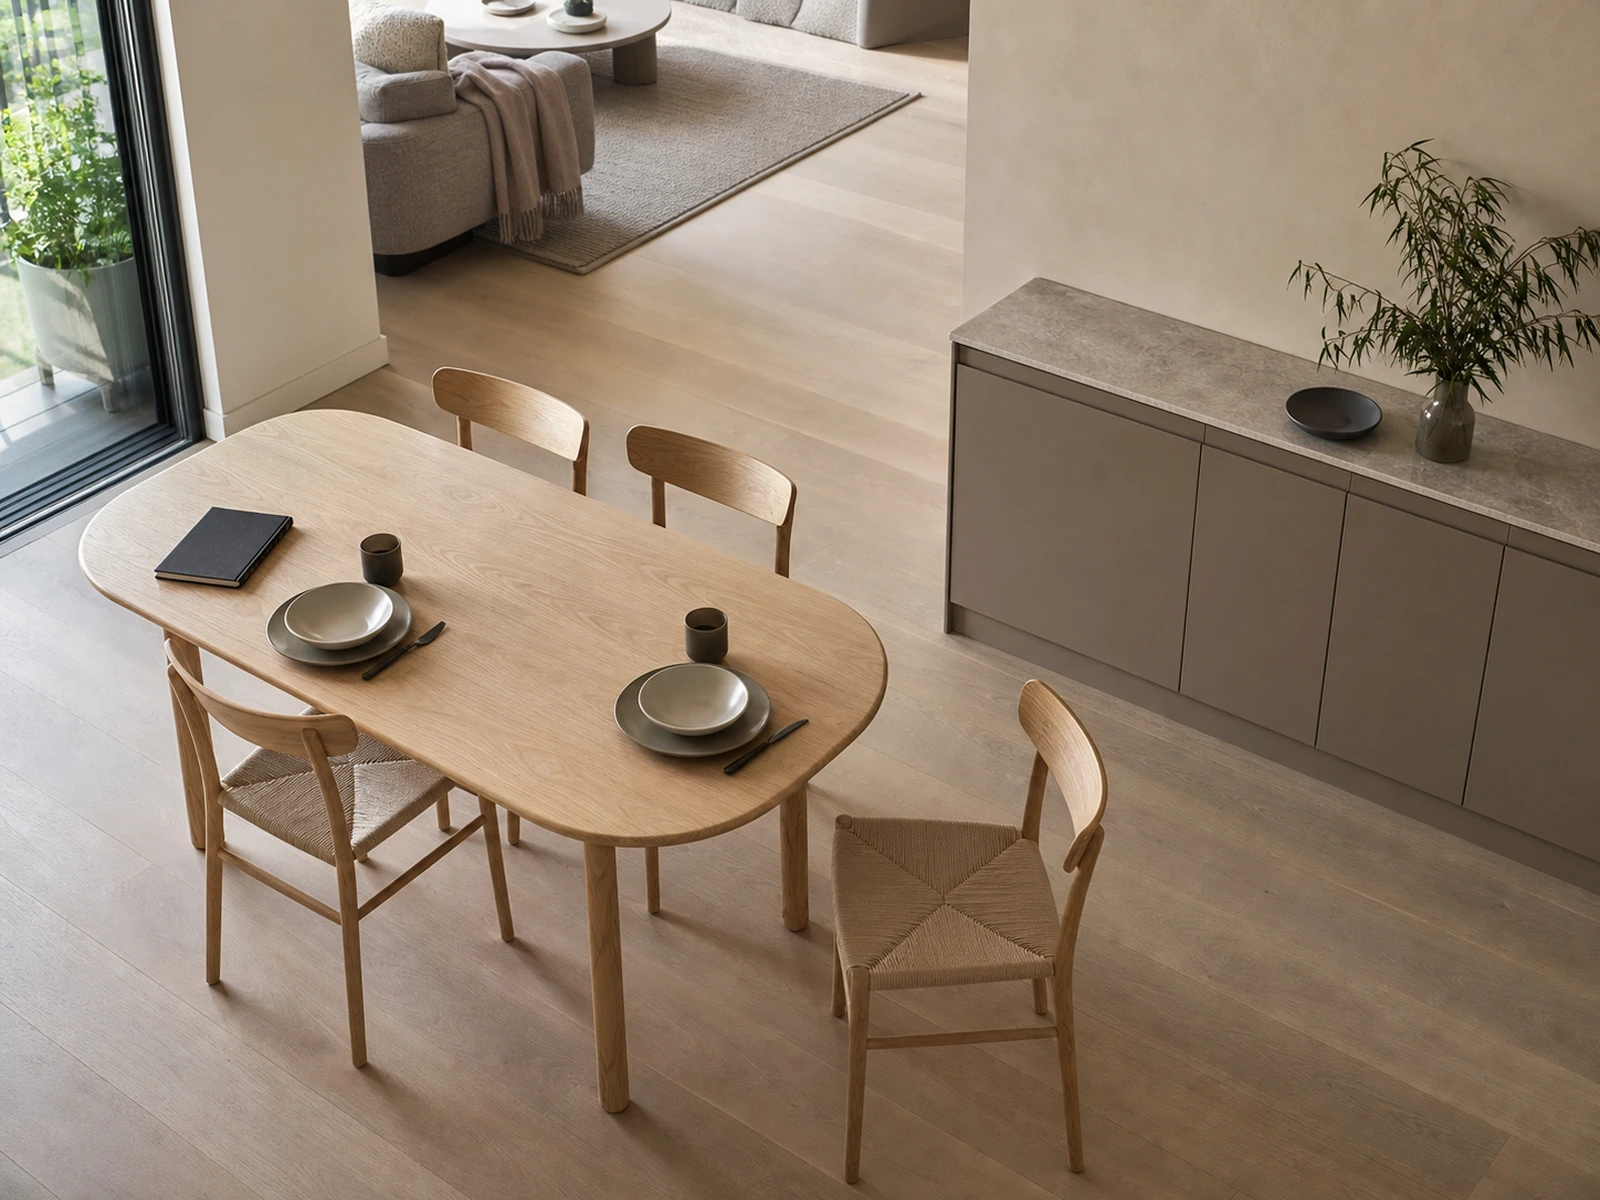
A dining chair is not a fixed rectangle. It moves away from the table, rotates slightly, and carries a person with it. Record at least three states:
- Tucked in: useful for understanding the room at rest, but not enough for planning.
- Pulled out: the chair is far enough back for someone to enter or leave the seat.
- Occupied: the chair, the person, and any passing route behind them are considered together.
Test the narrowest real-use moment, not an idealized one. For example, a person may pull a chair out while a drawer is open for table linens, or someone may pass behind a chair while another person reaches the stone top. You do not need to invent a single worst-case number. You need to identify which combinations are normal for the household and show them on the plan.
A common measurement error is to take the distance from the tucked-in chair back to the wall and call that the available sideboard depth. That distance already belongs partly to chair movement and people. Treat the chair envelope as a zone, not leftover space.
Protect the Walkway Before You Spend the Remaining Width
Not every strip of floor has the same job. A route used several times a day between the kitchen and living room has a different priority from a small access zone used only to open a cabinet door. Identify the primary route first, then note secondary access areas.
The required clearance may depend on the people using the home, accessibility needs, the direction of travel, chair design, room geometry, and applicable local requirements. That is why this article does not prescribe one universal walkway dimension. A dimension should be agreed for the actual project and checked against relevant local guidance where necessary.
On the plan, trace the route at its narrowest point. Do this with a chair pulled out, not only with all chairs tucked in. Then test the cabinet closed, a drawer open, and a door open. If the protected route disappears during a normal action, the solution is not ready. Options may include moving the cabinet, reducing its installed depth, changing the opening type, adjusting the table position, selecting a different chair, or deciding that the wall should remain free.
Add the Sideboard’s Full Installed Depth
Once the table, chair zone, and walkway are protected, calculate a low dining sideboard cabinet with stone top as an installed assembly rather than a bare box. Ask the drawing to distinguish:
- carcass depth;
- front thickness and any applied detail;
- handle or pull projection, if present;
- stone top depth and edge projection;
- wall gap, scribe, service void, or upstand condition, if relevant;
- plinth, leg, or floor-leveling arrangement.
A stone top should not be treated as a decorative slab that automatically matches the cabinet footprint. Its material, thickness, span, jointing, edge detail, weight, and support route need to be coordinated with the carcass. The final projection can also be affected by a wall that is not straight or by skirting that is retained behind the cabinet.
For a long low sideboard, leveling deserves attention because small floor variations can show along the top and door or drawer lines. The drawings should explain how the cabinet meets the floor and wall without assuming that every site has the same substrate or fixing condition.
Add the Space the Sideboard Uses When It Opens
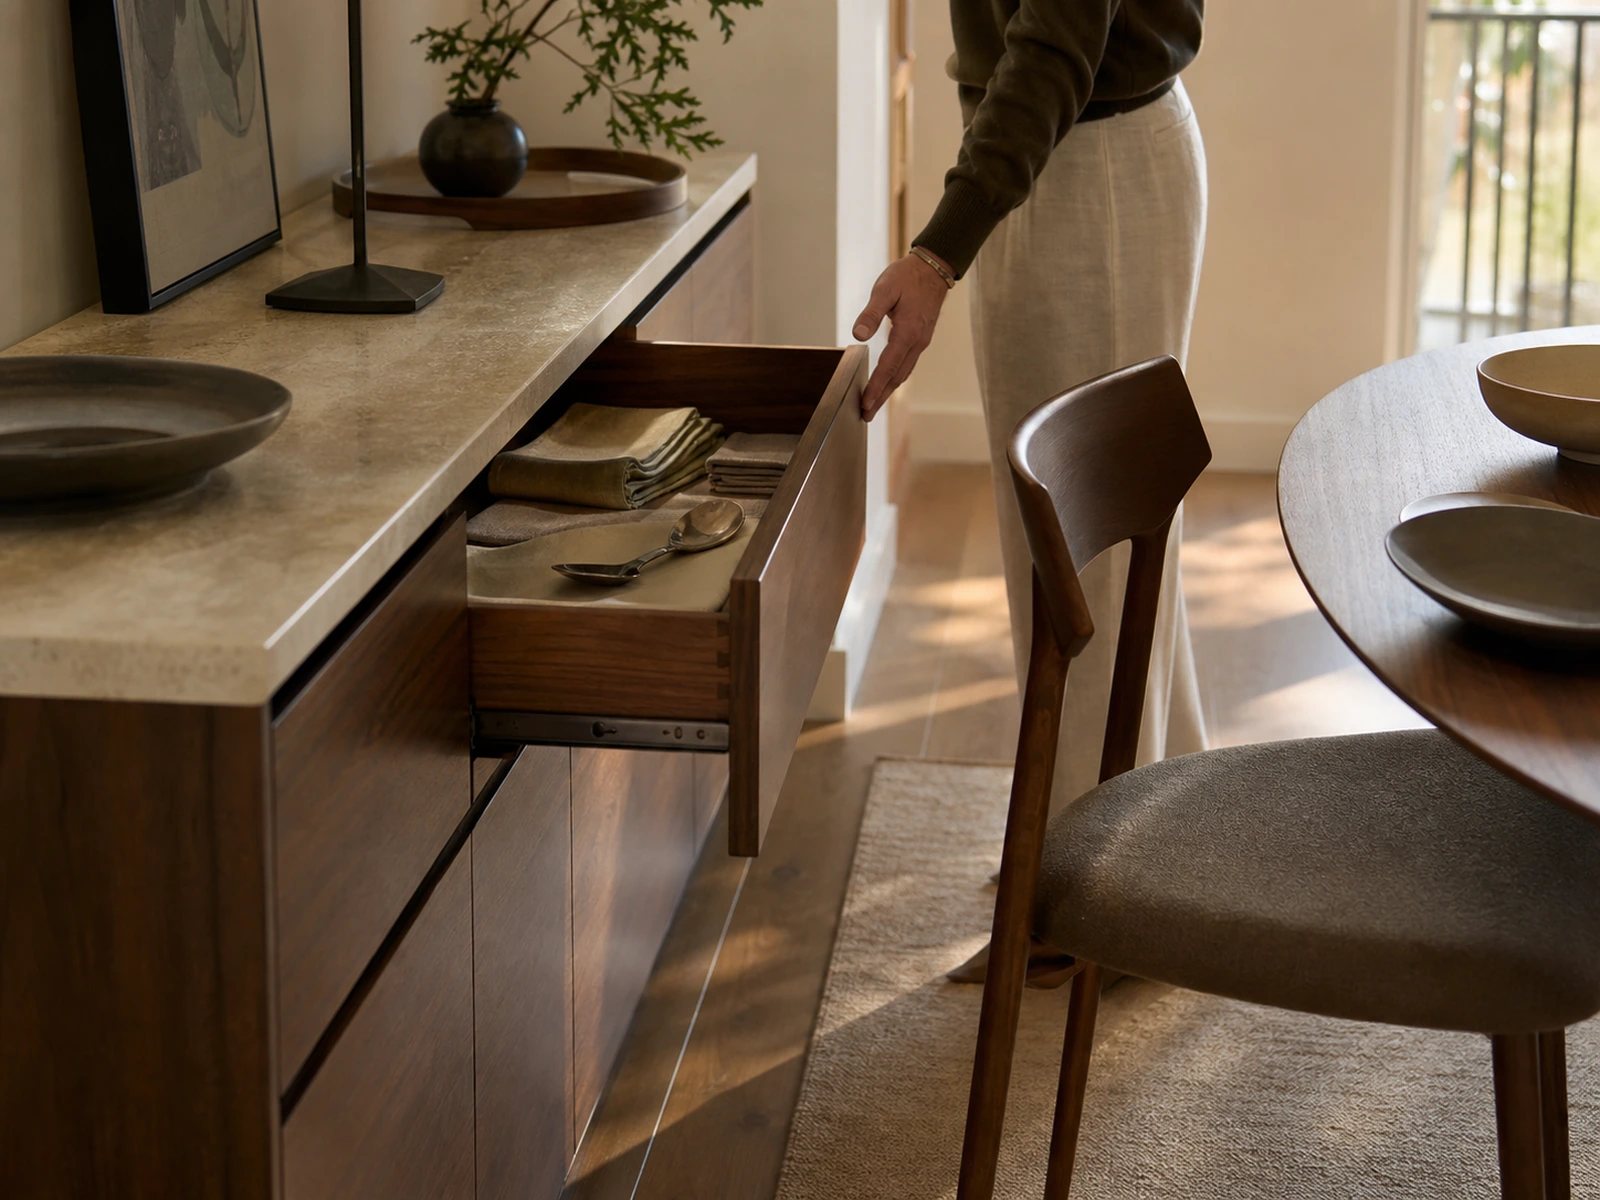
Drawer storage is easy to access, but a drawer adds its travel in front of the cabinet. The person using it needs space too. A useful side elevation or plan should show the drawer fully open according to the selected hardware, not a generic half-open symbol. Confirm the internal drawer arrangement and intended contents before treating a very shallow drawer as equivalent to a deeper one.
Hinged doors sweep through an arc and may conflict with chair backs or people standing nearby. Sliding doors can reduce the forward swing, but they do not automatically solve every narrow-room problem: they can limit how much of the interior is open at once and introduce their own track and overlap conditions. Open shelves remove a moving front but leave stored items visible and still require a person to stand and reach.
Choose the opening type by testing the same room state for every option. The question is not merely which front occupies less space; it is which combination of access, storage, structure, maintenance, and circulation works for the intended use.
Test a Low Stone-Top Sideboard as One System
A low cabinet may preserve more wall area above it and feel less dominant than a tall hutch. That can be useful in a narrow dining zone, but visual lightness is not a structural answer. A shallower body may change usable internal depth, drawer selection, door proportions, stone support, and fixing strategy.
If this is the cabinet type under review, compare the layout with the planned low dining sideboard cabinet with a stone top rather than a generic storage sketch.
Review the cabinet, top, and site together. Confirm the top specification and support detail; the carcass partitions and rails; the selected hardware; the wall substrate and appropriate fixing approach; the plinth or leg arrangement; and the method for leveling. Local installers or relevant site professionals should verify site-specific fixing and substrate conditions. Do not assume that one method is suitable for every wall or market.
Turn the Width Budget into Drawing Information
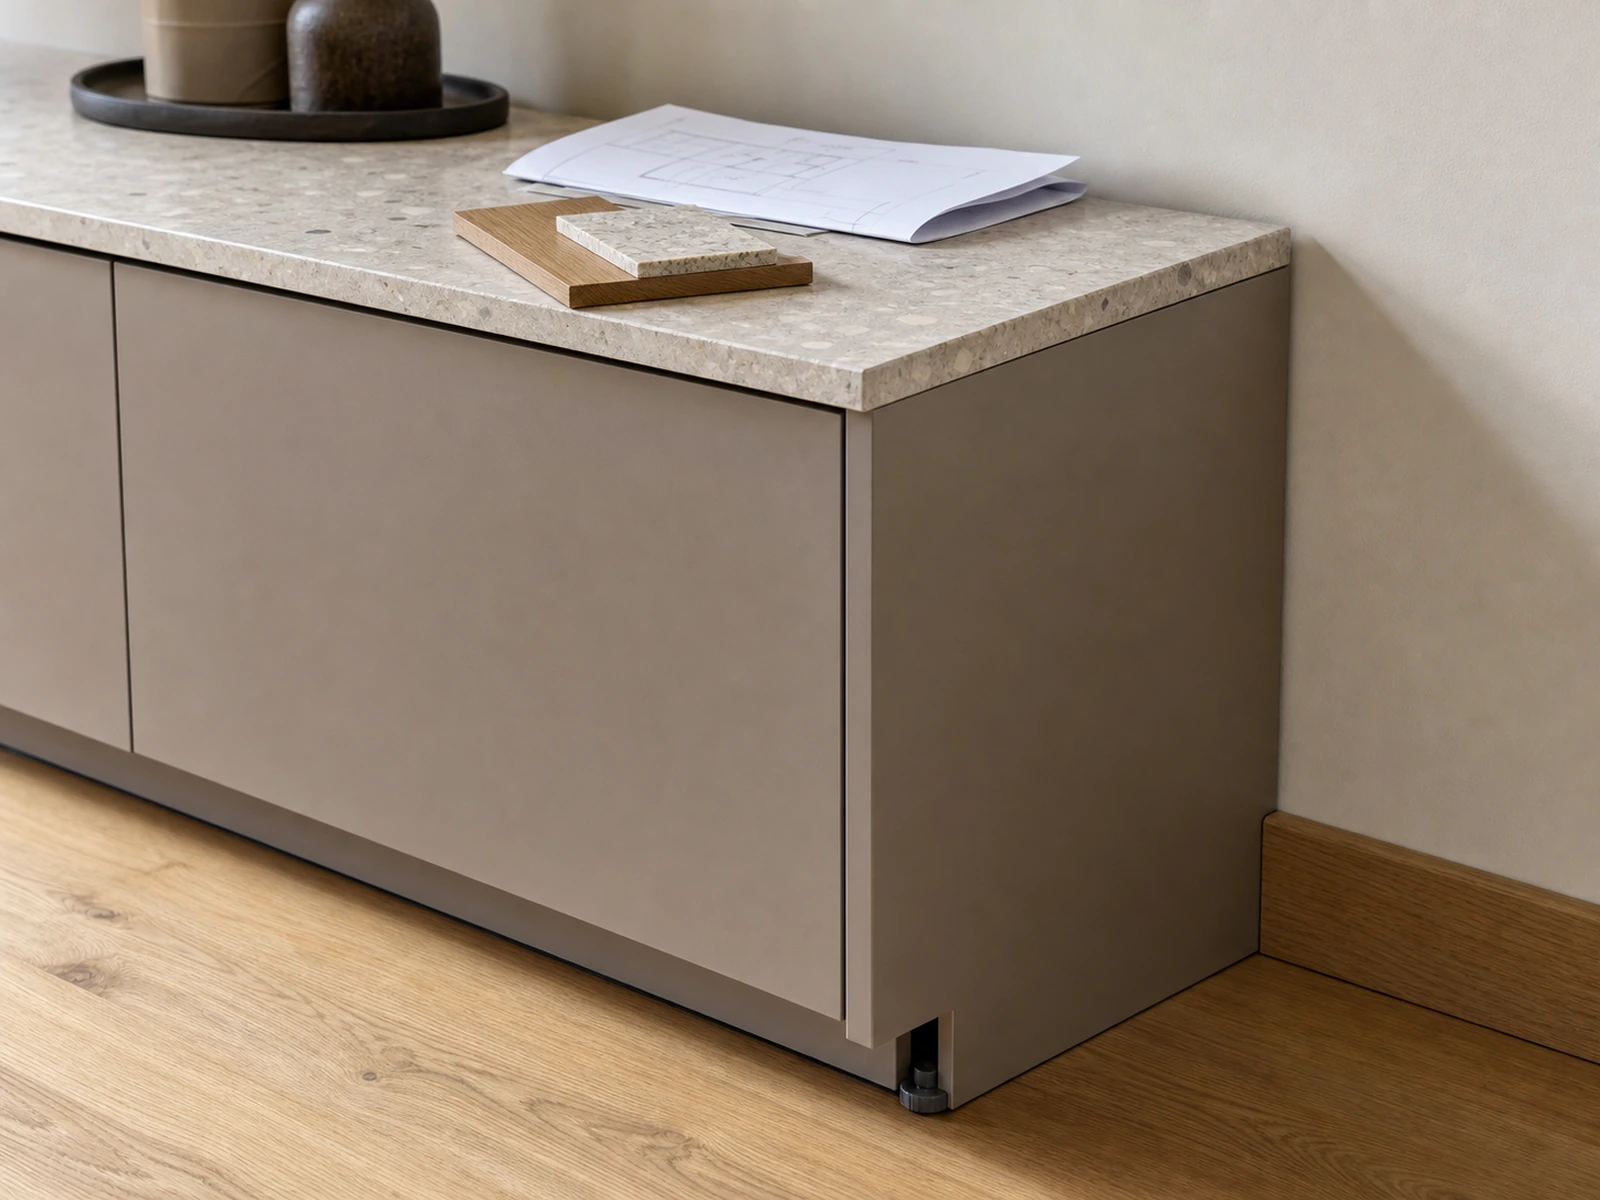
“Make it shallow” is not a complete production instruction. Convert the budget into information that can be reviewed:
On the plan
- room width at relevant points;
- final table position and table base;
- chairs in tucked and pulled-out states;
- protected primary route;
- cabinet installed projection;
- drawer extension or door swing;
- nearby doors, sockets, vents, and wall returns.
On the elevation and section
- cabinet overall height and length;
- carcass and front depth;
- handle detail;
- top thickness, projection, edge, joint, and support concept;
- drawer or door hardware and opening path;
- plinth, leg, skirting, wall gap, and leveling relationship;
- site-dependent fixing areas for local verification.
Before production
Confirm that the room survey, table and chair information, selected opening type, intended storage, stone specification, wall and floor conditions, and responsibility for local installation are current. If any of those inputs change, rerun the width budget. A cabinet drawing can be internally correct and still be unsuitable for the room if it is based on an outdated chair, table position, or site dimension.
Frequently Asked Questions
How deep should a sideboard be in a narrow dining room?
When assessing sideboard cabinet depth for narrow dining rooms, there is no single value that fits every layout. Start with the measured room width, lock the table position, draw the chair in use, protect the required route, and then test the sideboard’s installed and operating depth. Storage needs, hardware, stone, wall conditions, and local requirements can change the result.
How much room is needed to open sideboard drawers?
Allow for the selected drawer’s actual extension plus the person using it, then test that zone against pulled-out chairs and the walkway. The hardware schedule and cabinet drawing should provide the drawer travel used for the project rather than relying on a generic assumption.
Do sliding doors always save space in a narrow dining room?
Sliding doors reduce a forward door swing, but they are not automatically the best solution. Review interior access, panel overlap, track construction, maintenance, storage layout, and the way people stand at the cabinet before choosing them.
What should I send a custom cabinet manufacturer for a narrow-room sideboard?
Provide a dimensioned room plan, wall width and site photos, table position, table and chair dimensions, chair pull-out information, nearby openings or services, desired storage, preferred door or drawer type, stone preference, skirting details, wall and floor notes, and the local installation scope. Final requirements should be confirmed in the approved drawings.
Bring the Whole Width to the Design Review
The strongest sideboard plan is not the one with the most confident standard dimension. It is the one that accounts for the room while people are actually dining, moving, and using the cabinet. Protect the fixed table position, draw the chair envelope, preserve the necessary route, and add both the installed and operating depth of the sideboard.
For a custom review, prepare the room plan, table and chair information, wall and floor conditions, preferred opening type, storage list, and stone direction. Sunrise Furnishing can use those inputs to coordinate cabinet drawings and discuss the sideboard, top, hardware, and installation interfaces. Final dimensions and site-specific details should be confirmed before production and with the relevant local project parties.